
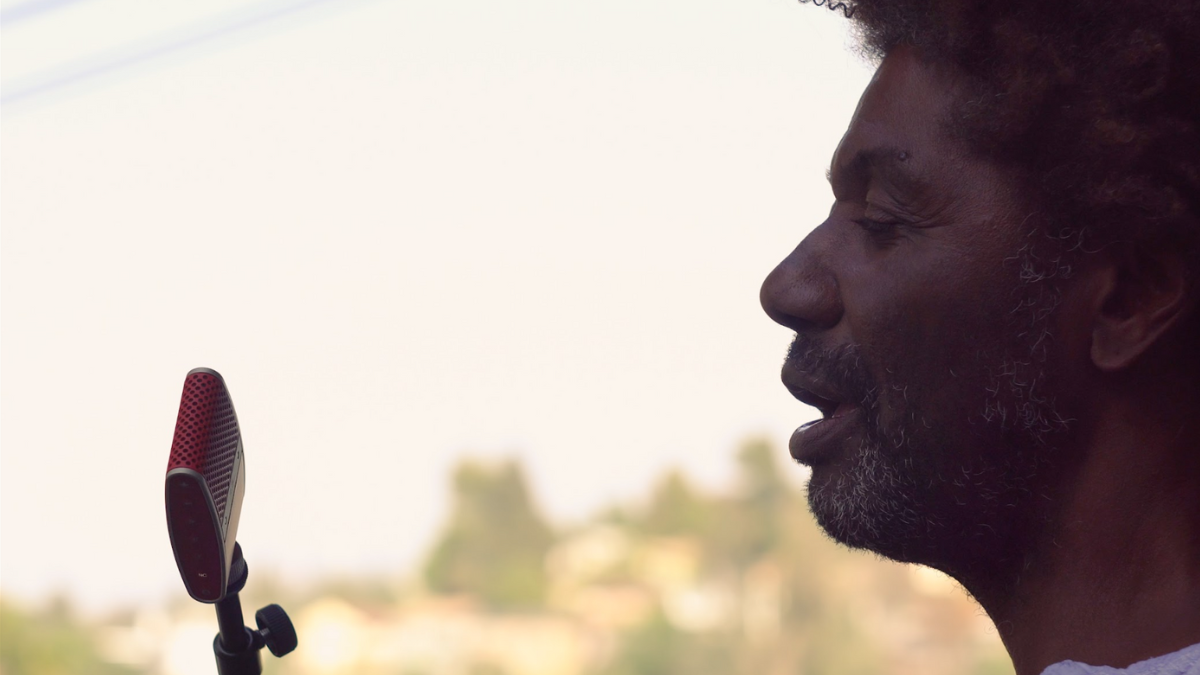
The Tula Mic has quickly become a go-to microphone for voice over artists, thanks to its exceptional sound quality and versatility. Whether you're a seasoned professional or just starting out in the world of voice overs, this ultimate guide will walk you through everything you need to know about using the Tula Mic to create stunning recordings.
1. Getting to Know the Tula Mic
The Tula Mic is a compact, portable microphone that connects directly to your smartphone or computer via USB or Bluetooth. It features a high-quality condenser microphone capsule with a cardioid pickup pattern, ensuring excellent sound capture while minimizing background noise.
2. Set Up Your Recording Space
Before you begin recording, it's important to set up a suitable recording space. Find a quiet room with minimal background noise and consider adding acoustic treatment like foam panels or blankets to reduce echoes and reverberations. Position the Tula Mic at a comfortable distance from your mouth, typically around 6-8 inches.
3. Connect and Configure the Tula Mic
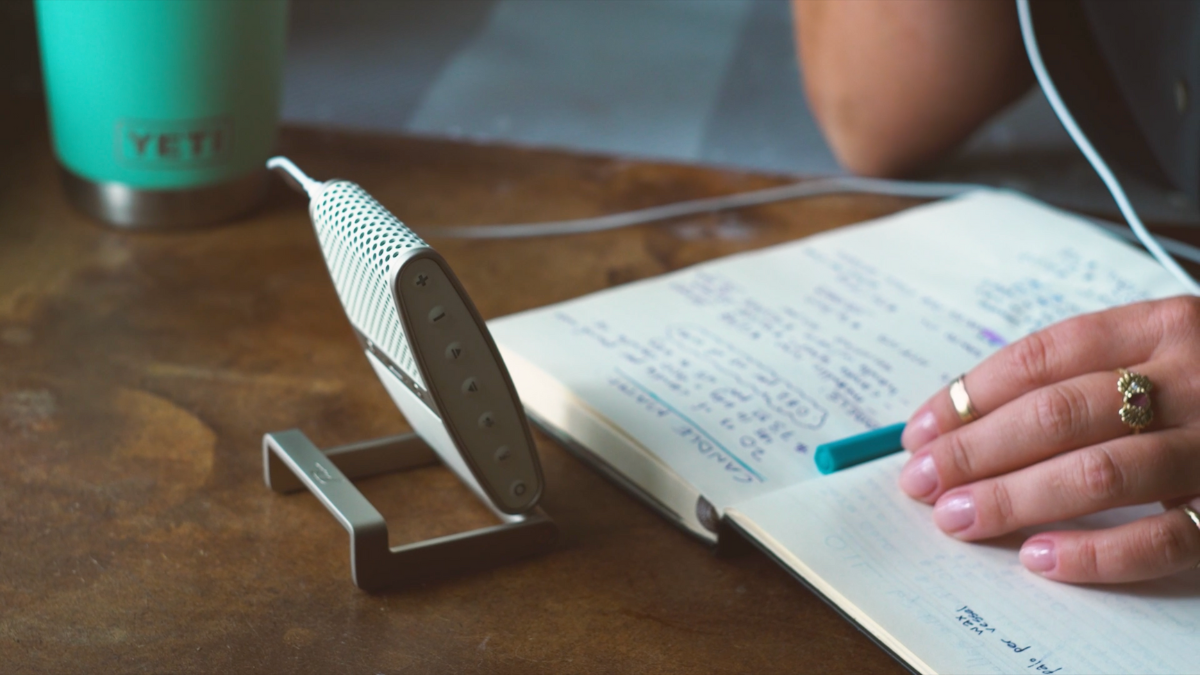
To connect the Tula Mic to your device, simply plug it into the USB port. Make sure to select the Tula Mic as your audio input device in your computer or recording software settings. The Tula Mic also features a built-in headphone jack, allowing you to monitor your recordings in real-time.
4. Adjust the Gain and Polar Pattern
The Tula Mic offers adjustable gain control, allowing you to optimize the microphone's sensitivity to match your voice and recording environment. Start with a moderate gain setting and adjust accordingly to avoid distortion or clipping. Additionally, experiment with the polar pattern options (cardioid, omnidirectional, and bidirectional) to find the best setting for your specific recording needs.
5. Control Background Noise
The Tula Mic's cardioid pickup pattern naturally helps reject off-axis sounds, but it's still important to minimize any background noise. Close windows, turn off fans or air conditioning, and silence any devices that may cause unwanted interference. Consider using a pop filter to reduce plosive sounds (like "p" and "b" sounds) and a shock mount to isolate the microphone from vibrations.
6. Experiment with Positioning and Voice Techniques
The Tula Mic is highly sensitive, so experiment with different positioning and voice techniques to find your optimal setup. Try speaking directly into the microphone, slightly off-axis, or at various distances to achieve the desired tone and clarity. Practice proper breath control and enunciation to ensure clean and professional recordings.
7. Edit and Enhance Your Recordings
Once you've recorded your voiceover, you can further enhance it using audio editing software like Audacity or Adobe Audition. Remove any background noise, adjust volume levels, and apply equalization or compression to achieve a polished and balanced sound. Remember to save your recordings in a high-quality format, such as WAV or FLAC, for optimum sound reproduction.
In conclusion, the Tula Mic is a powerful tool for voice over artists, offering exceptional sound quality and portability. By following the tips outlined in this ultimate guide, you can harness the full potential of the Tula Mic to create professional-grade voiceovers that will captivate your audience. So grab your Tula Mic, set up your recording space, and let your voice shine!
1 comment
RC Andrews
My Tula – Black (TL023-B) went dark. I have tried everything using your Troubleshooting Guide and it simply will not power on. I was in the middle of a session and had stopped to take a break and when I returned, the mic had gone dark and unresponsive. Barcode# is: 8 60005 4600 7. I purchased it through Sweetwater and registered.
Leave a comment
This site is protected by hCaptcha and the hCaptcha Privacy Policy and Terms of Service apply.